Screenspace Renderables Panel

The technically named Screenspace Renderables enables the addition of media that overlays the scene in OpenSpace. The media—images, video, or a webpage—exists as a slide on top of the view in OpenSpace, and its size and location can be manipulated to enhance a story within OpenSpace.
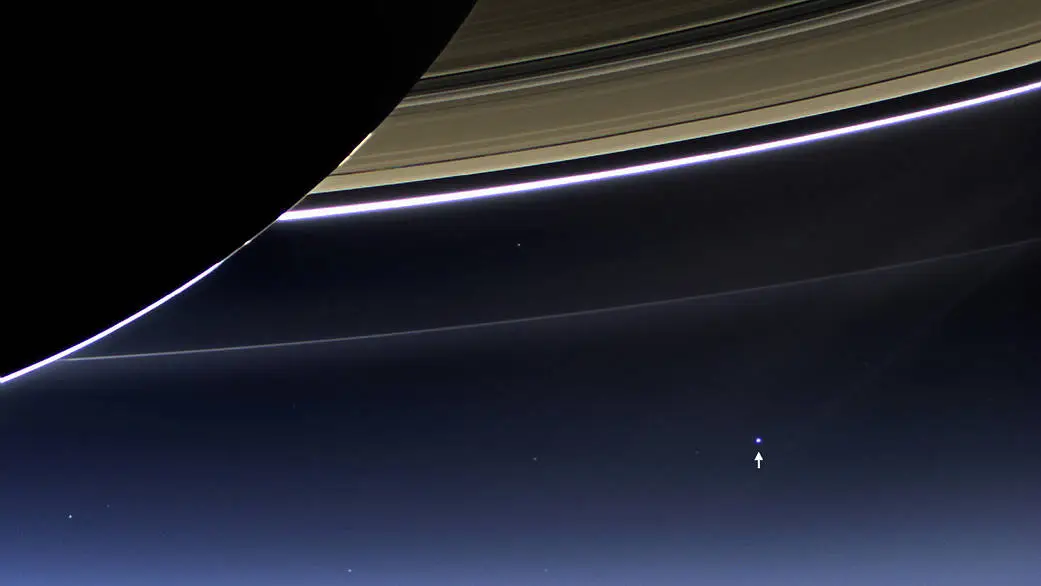
A close-up of Saturn showing the location of Earth in the background. This is a cropped version of the larger image taken by the Cassini spacecraft on July 19, 2013. Credit: NASA/JPL-Caltech/Space Science Institute
We will demonstrate adding slides using the famous image of Earth beside Saturn’s rings. This image was taken by Cassini on July 19, 2013, and also shows Venus and Mars on the opposite side of Saturn.
Let’s use Screenspace Renderables to add the uncropped version of this image, then see how OpenSpace’s planets line up relative to their position in the image.
Loading a Slide
Once you bring up the Screenspace Renderables panel, you will see two tabs: Image and Website. The Image tab provides a place to load an image into a slide overlay, while the Website tab will load a webpage onto a slide.
Both tabs work in a similar fashion. There is a field for a display name, and a field to enter the path or URL to the image or website. The Display Name is the name OpenSpace assigns to the slide, and will appear in the list of loaded slides. The Path or URL tells OpenSpace how to find the resource. Note for images, you can use an image you have locally on your computer by entering the path to that image, or you can enter a URL to an image on a website.
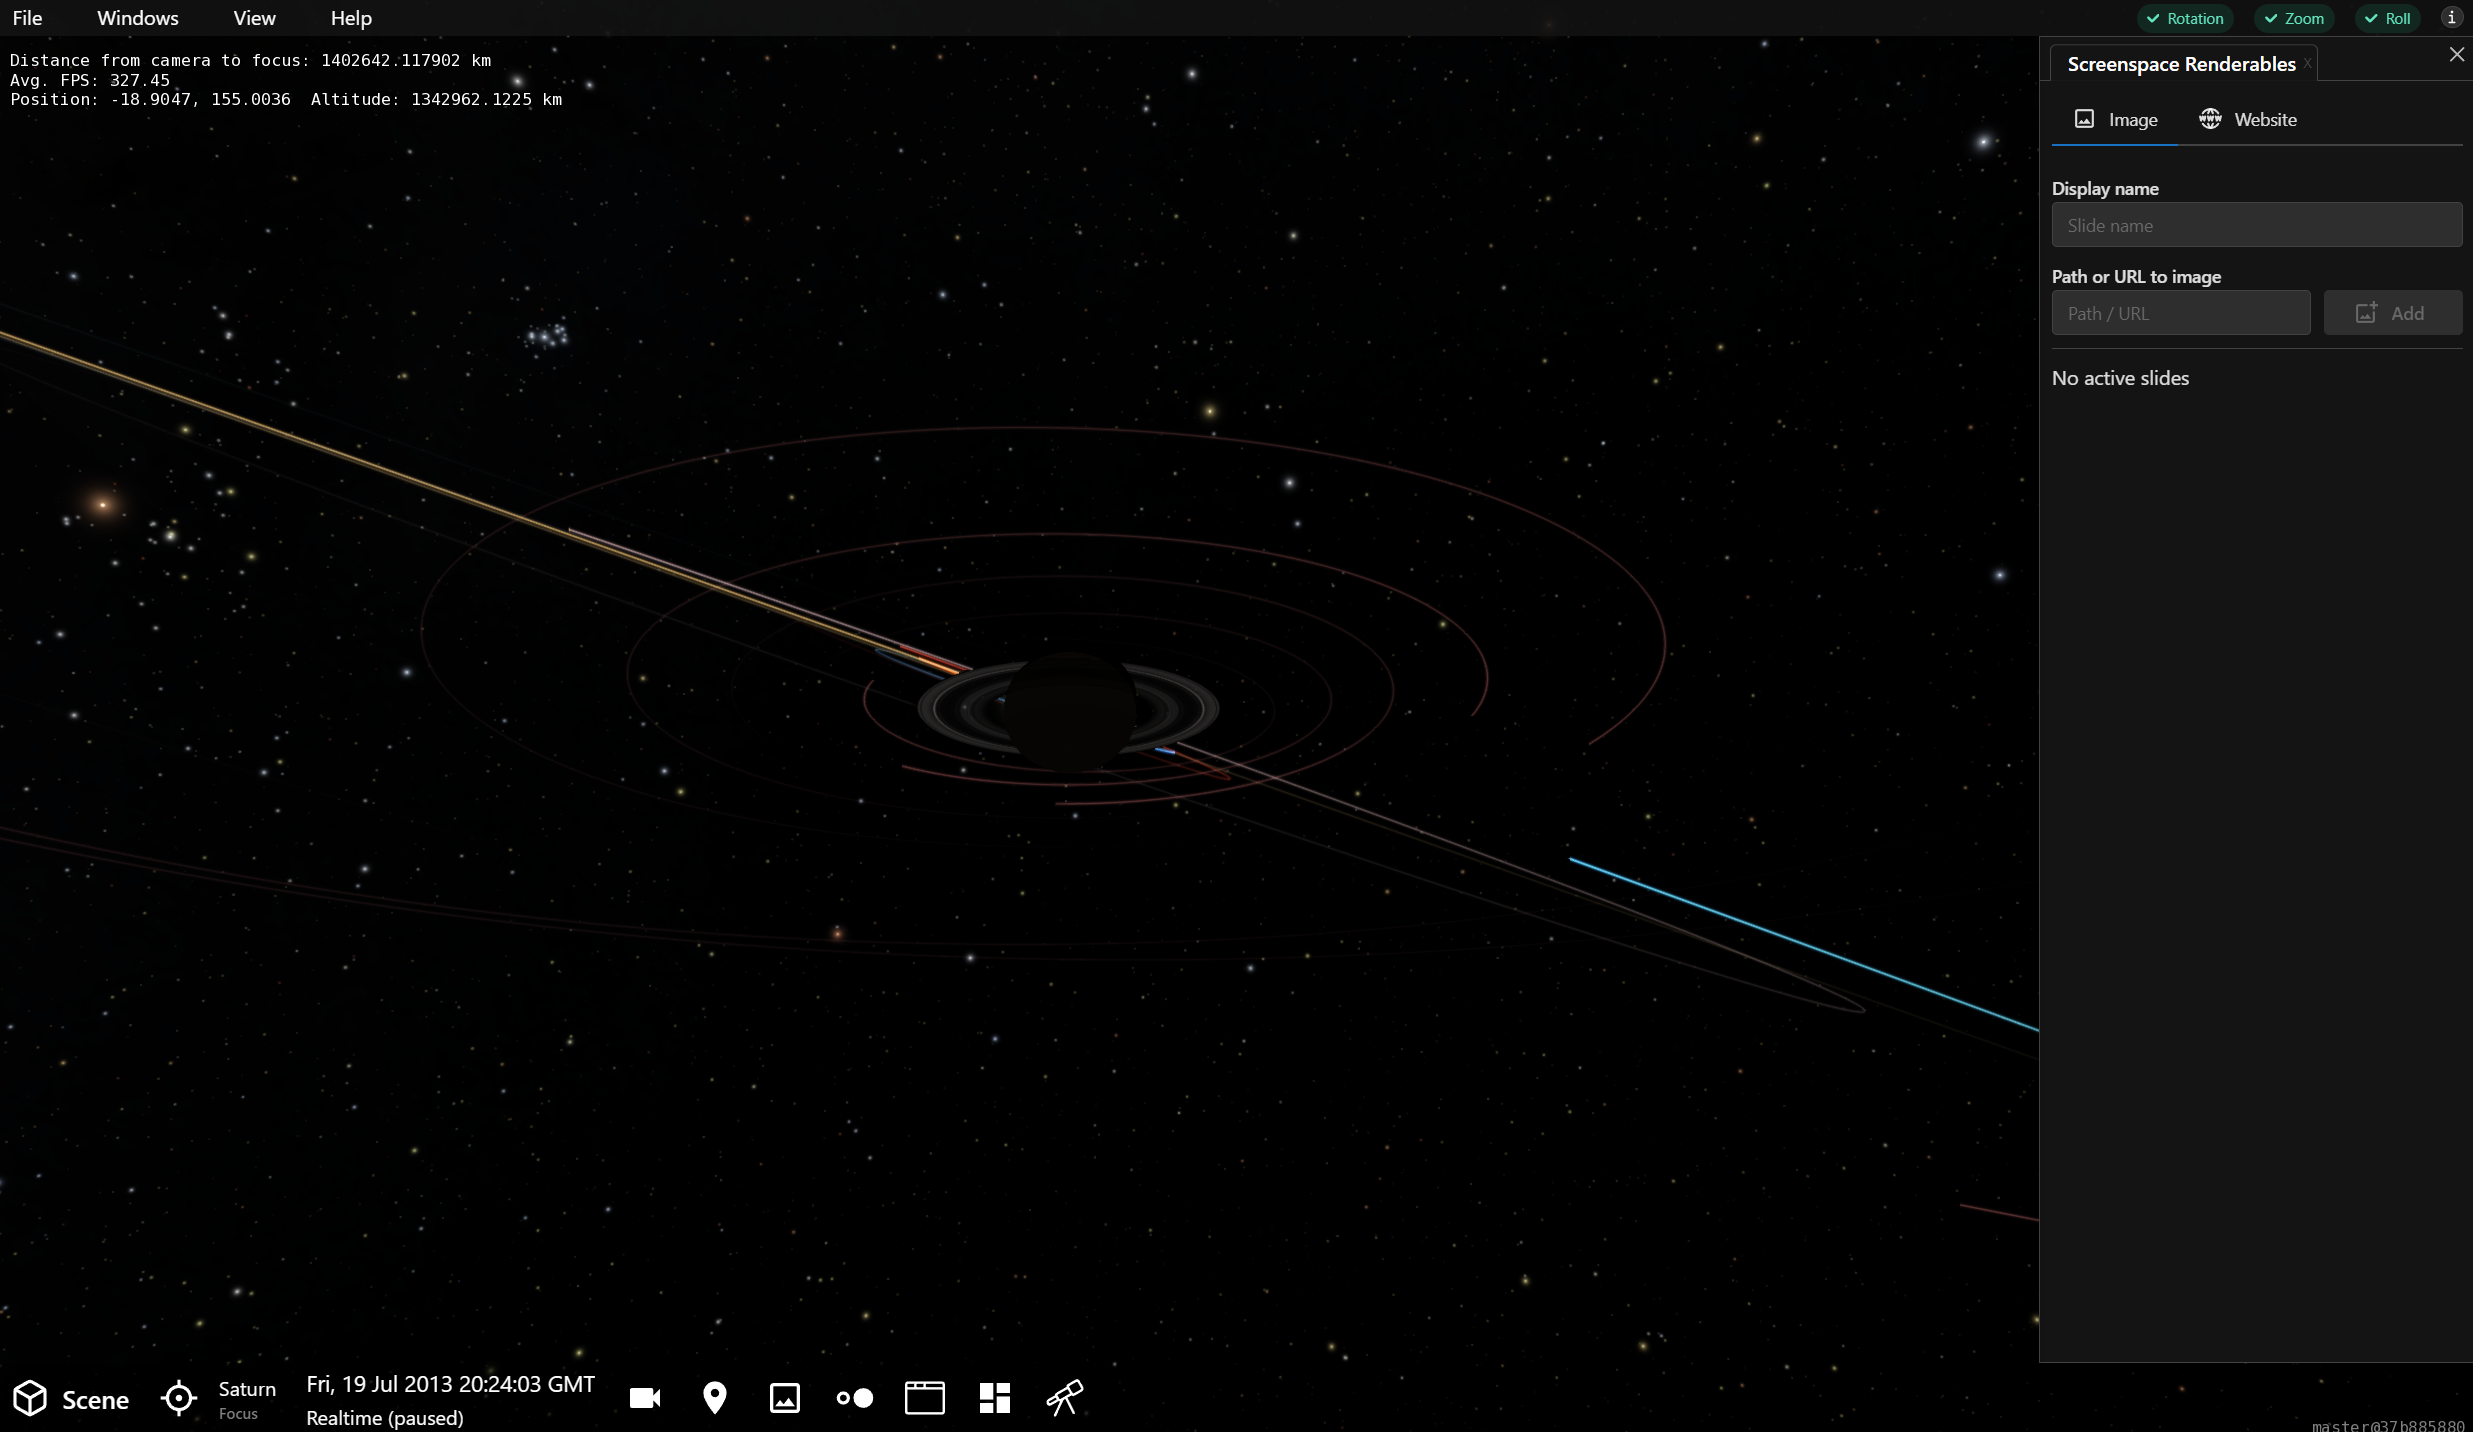
The initial Screenspace Renderables panel in OpenSpace.
Once you enter a Display Name and a path or URL to the image or website, press the Add button and the slide will appear in the list below.
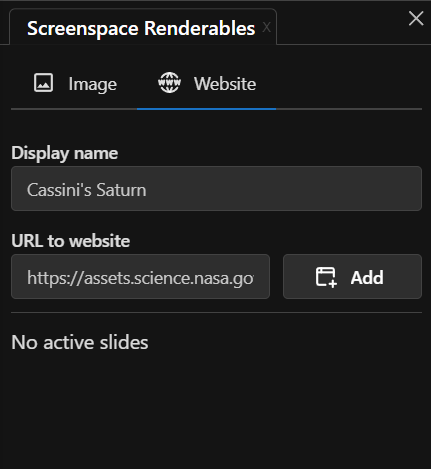
Values in the Screenspace Renderables panel, specifying an image from a website. Once you hit the Add button, the slide entitled Cassini’s Saturn will appear in the list (where you see “No active slides” in this image.)
Manipulate a Slide
Once the slide is added, it will appear in the OpenSpace scene, and in the panel’s list. Dropdown the slide’s subpanel in the list to reveal a host of options concerning the position and appearance of the slide.
In this example, the Cassini image of Saturn we linked to appears in the OpenSpace scene. We altered the coordinates and scale of the image to center it on top of OpenSpace’s native, 3-D Saturn.

The web-based Cassini image of Saturn overlaid on Saturn in OpenSpace.
Next, we turned off the orbital trails of the outer planets and decreased the opacity of the slide to see what lies behind it. The result is a simulation of the famous image, with the presence of Earth, Mars, and Venus in the background, layered alongside the image which can easily be turned on and off.
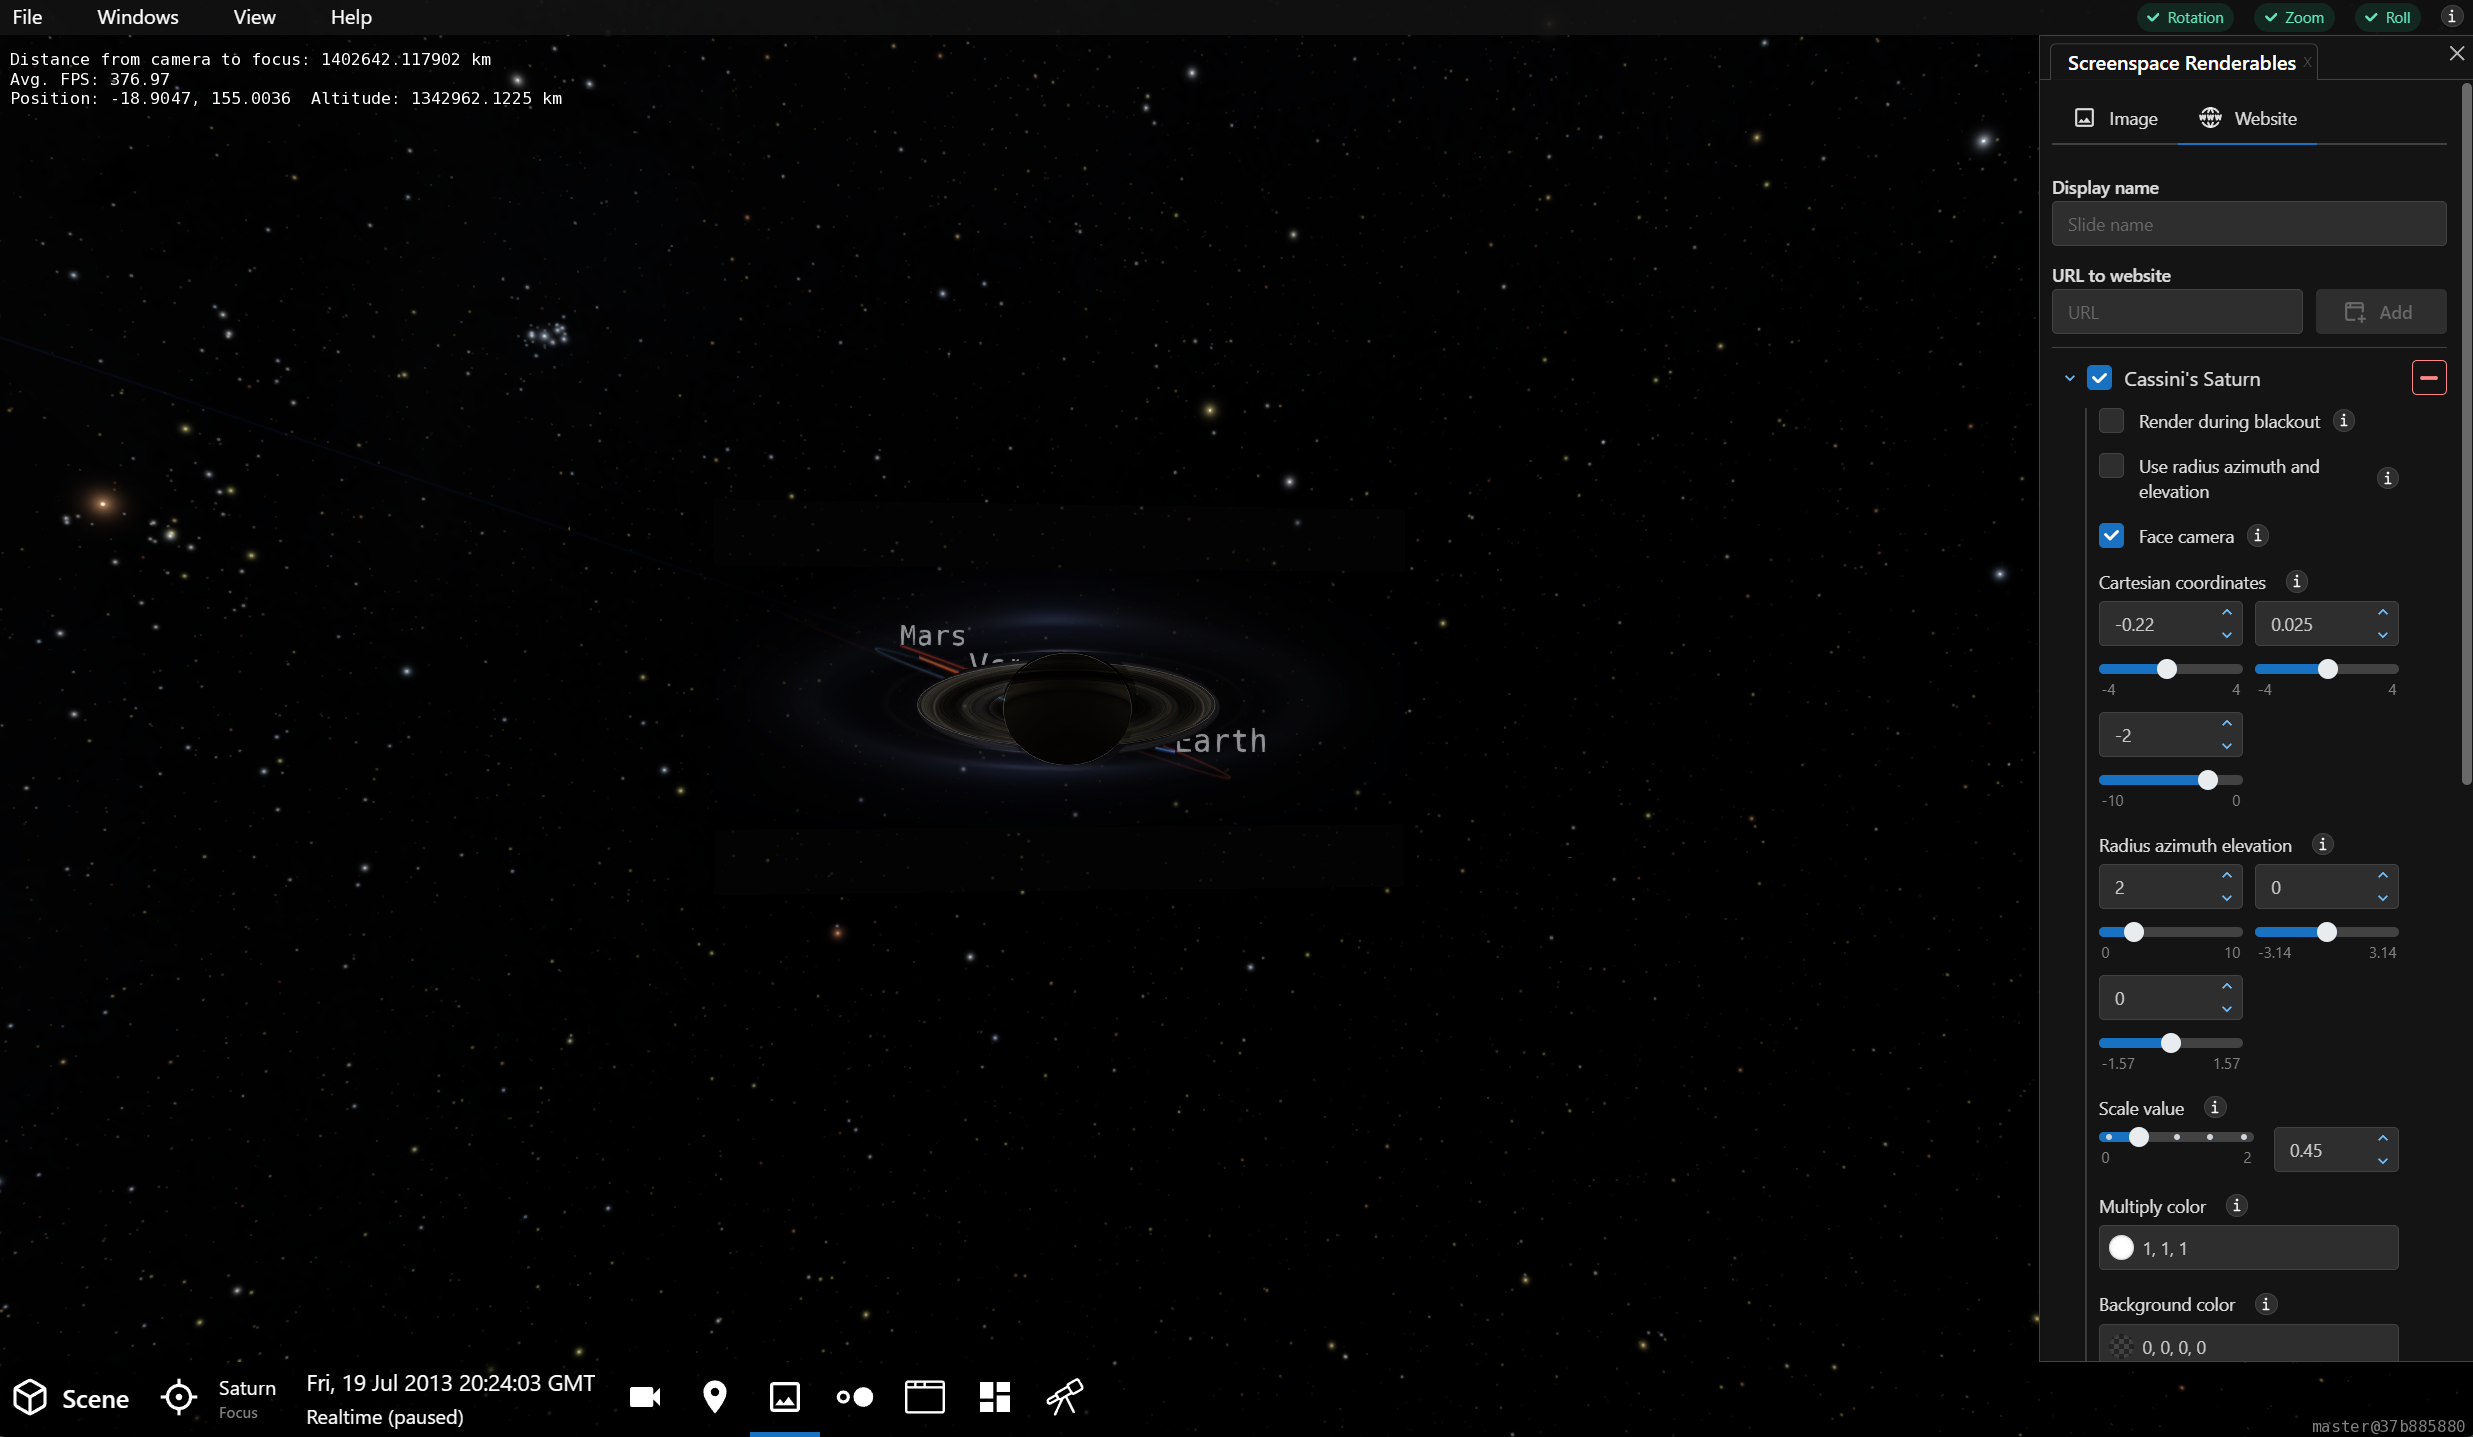
Adjustments showing the position of Earth, Mars, and Venus, recreating the famous Cassini image of Saturn and Earth taken July 19, 2013.
Slide Adjustments
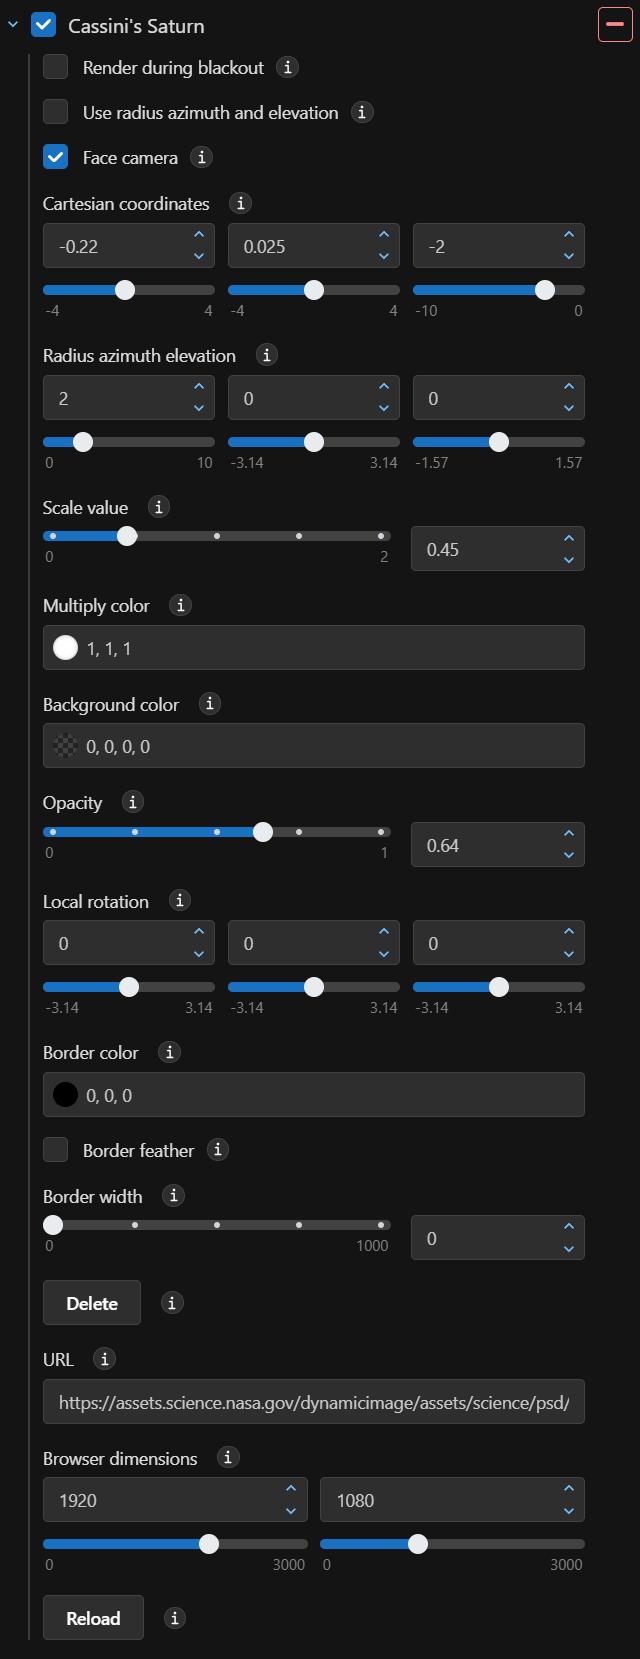
The Screenspace Renderables panel options for a loaded slide.
Position & Orientation
These adjustments affect where the slide appears on the screen.
Coordinates
There are two coordinate systems in which positional adjustments can be made. The end result of these adjustments sets where the slide appears on the screen, but in reality you’re defining the plane in which the slide appears relative to the screen.
If you’re running in a flat-screen environment, then use Cartesian coordinates to adjustment the position of the slide relative to the screen. The trio of adjustors control the \(X\) (horizontal), \(Y\) (vertical), and \(Z\) (depth from screen) position of the slide. A \(Z\) of zero is at the screen level, a negative value brings the image into view. The smaller the \(Z\) value, the more distant the slide’s plane descends from the screen plane and, hence, the image appears smaller.
In a domed or fisheye environment, use the Radius, Azimuth, and Elevation coordinate system. This treats the image plane as a sphere. Now, the three imputs are radius, which increases from the viewer’s screen, azimuth, the angle around the \(Z\)-axis, and elevation, the angle from the \(Z\)-axis. More simply, use these three adjustors to move the slide where you want it, and use Local rotation if necessary to align it correctly.
Scale
Scale will simply adjust the size of the image, regardless of where the slide is positioned.
Rotation
The three Local Rotation adjustments allow you to rotate the slide around the midpoint of the slide. Perhaps the most useful of these adjustments will be the first slider, which rotates the image perpendicularly to the screen.
Appearance
The following adjustments alter the appearance of the slide by applying accent colors, opacity, or borders.
Opacity
Adjust the opacity to make the slide transparent. This is helpful if you want to be able to see behind the image, or to visually de-emphasize the image.
Colors
Multiply Color will apply the specified color to the slide. A value of white (1,1,1) is the default and yields the image in its original form.
Background Color sets an opacity-blended color that is applied to the slide. If the opacity is 1 (completely opaque), then this background color will not appear. Only when the opacity is less than 1 will the background color be effective.
Border
You can place a border around a slide using the border properties. Set a Border color and Border width and a border will appear around the slide. Check Border feather to place a fade on the border’s outer edge.
Web Interactivity
If you use the Web tab to add a slide, you can alter the dimensions of the browser within the slide. The default is 1920 by 1080 pixels. And, because some websites update often, you can use the Reload button to refresh the browser within the slide.
Delete
If you want to delete the slide, use the Delete button.