Compiling#
This page outlines the steps and resources required to compile OpenSpace from scratch on all platforms. Please read this page first, since it contains details that apply to all platforms. The links to the platform-specific pages can be found in the sidebar to the left or here:
0. Hardware requirements#
Dedicated graphics card that supports OpenGL 3.3 or higher. Most new graphics cards have this capability, but sometimes you need to update your drivers. Nvidia graphics cards work best, but AMD cards will work (but currently have some known issues)
A mouse makes navigation easier than using a trackpad, since you need left, right, and middle mouse buttons
Enough disk space (all numbers approximate):
1 GB of disk space to clone the GitHub repository
A minimum of 15 GB of additional disk space to build OpenSpace (more might be required depending on number of configurations and modules)
10+ GB of disk space to hold the current OpenSpace dataset. Expect that to grow as time goes on
1. Development Tools#
To compile OpenSpace on any platform you will need a Git client, CMake, and a C++ compiler that supports at least C++20.
Git Client#
OpenSpace uses Git submodules, which are not supported on all clients. Xcode on Mac, for example, does not, so beware. Here are some suggestions for applications that have been used by members of the development team:
Fork A pay-if-you-will Git client for both Windows and macOS
SourceTree A free and powerful Git client usable on both Windows and macOS
GitKraken A free GUI for Windows, macOS, and Linux
SmartGit Another GUI Git client which runs on Windows and Mac
XCode does not support recursive cloning or git submodule commands. However, installing Xcode makes Git available on the Terminal, which supports the
--recusiveflag
Please ensure that, specifially on Windows, to enable automatic line-ending conversion when checking out a repository (see information here) as some of the shader files in OpenSpace are sensitive to using the native line endings.
Learning Git is a good, interactive webpage to learn the basics of using Git.
You might find it easier to use SSH instead of HTTPS, especially if you’re using Two-Factor Authentication with GitHub
CMake#
CMake is a multi-platform project-generation tool. OpenSpace uses CMake so that we can more easily configure and compile OpenSpace on various platforms. We require CMake version 3.25 or above.
If you favor the commandline you can use the cmake command, but you might also like to know that you can use ccmake, which is CMake with an interactive curses interface.
Press
cto configure your CMake files. Some configurations will require you to run the configure multiple times before you can generate.Scroll up and down using the arrow keys, press Enter/Return to toggle or edit a value, again to confirm it.
When you make changes, confgure with
cagain: you won’t be able to generate the build files until you do.twill toggle advanced mode.gwill generate the files.eto exit the errors/warning/help screen and take you back to the configuration so you can update it as necessary.qwill quit without generating changes.When in doubt,
rmin your CMake build directory and start again.
Compiler / IDE#
The platform specific pages found in the menu on the left contain more detailed information about the compilation platforms for each operating system. OpenSpace is written in C++20 and thus requires compiler versions that support a large portion of that standard. Thus we require the following versions of the compiler:
Windows: MSVC 19.39 (Visual Studio 2022, from version 17.9)
macOS: AppleClang 15.0.0 (Xcode 15.3)
Linux: GCC 13 or Clang 17
2. Dependencies#
Almost all dependencies in OpenSpace are handled via Git submodules, which means that when cloning the GitHub repository, you should ensure that the --recursive flag is passed to the command.
The one dependency that is not included via submodules and that needs to be installed manually due to licensing reasons is Qt, which is used for the Launcher and profile editor GUI. Qt version 6 is required. The open-source version of Qt, if applicable to you from a licensing point of view, can be obtained here: https://www.qt.io/download-qt-installer. As of 2020, this installer unfortunately needs a valid Qt user account. Select the Custom installation and select the newest version and any optional additional packages. Only the core Qt installation (e.g. Qt 6.2.0) is needed to run OpenSpace – no additional Qt packages are required.
On Linux and macOS, the GDAL library also requires a manual install, for Windows, this library is contained in the repository, otherwise you it is available via apt-get or homebrew or MacPorts. Suggested version: 2.4.1 or above
3. Compiling#
Roughly speaking, the following steps are taken on any platform:
Clone the Git repository including all submodules. If you use the commandline for this, a standard command would be:
git clone --recursive --branch master https://github.com/OpenSpace/OpenSpace. This example specifies themasterbranch, but another branch name can be substituted (read Branching Model for more information about Git branches).Start CMake and drag in the
CMakeLists.txtfile from the OpenSpace folderUnder “Where to build the binaries:” add a
/buildto the end of the path. Out-of-source builds are not supported.Press the “Configure” button and select the generator for your platform. In general, the option provided by default should be the correct one
Press the “Generate” button and wait for it to finish
Depending on the operating system, you can use the “Open Project” button to open the project in your IDE
Compile
If there are any elements of these instructions that are unclear, feel free to suggest a change against this repository or join us in the #compiling channel on the OpenSpace Slack.
4. After compiling#
The OpenSpace executable will be build in the bin folder (or bin/Debug/bin/RelWithDebInfo on Windows) and can be started from there. If everything succeeded you should see the Launcher window appearing:
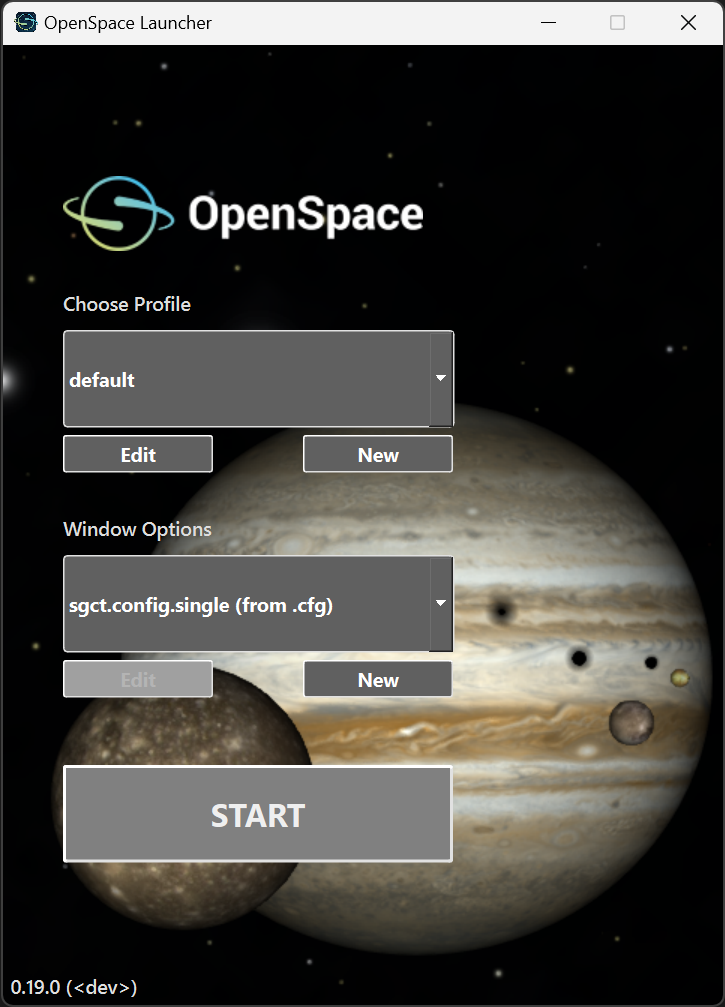
The first window showing OpenSpace#
See the Getting Started Guide: Using OpenSpace page for how to get started with running and using OpenSpace
The Coding Style describe the general coding guidelines that are applicable to the Ghoul, SGCT, and OpenSpace repository
See the OpenSpace Layout page for more information about the structure of OpenSpace directories
See the Deploy to a Windows Machine page for additional information about what goes where on Windows (and how to copy from one machine to another).
The source code is written in C++20 with the feature set supported by Visual Studio 2022. The available features are detailed here
Developers, before committing to the repository, read the post about Structuring commit messages. In general you can push to the feature branch you have been working on, but do not push directly to the
masterbranch. For themasterbranch, a Pull Request should be usedSome useful information about C++ can be found in the form of C++ Core Guidelines and Exception Handling
5. FAQ#
Q:
CMake Error at ext/ghoul/CMakeLists.txt:74 (include):
 include could not find load file:

   src/CMakeLists.txt


You have called ADD_LIBRARY for library Ghoul without any source files. This typically indicates a problem with your CMakeLists.txt file
CMake Error at ext/ghoul/CMakeLists.txt:304 (find_package):
 By not providing \"FindGLM.cmake\" in CMAKE_MODULE_PATH this project has
 asked CMake to find a package configuration file provided by \"GLM\", but
 CMake did not find one.

 Could not find a package configuration file provided by \"GLM\" with any of
 the following names:

   GLMConfig.cmake
   glm-config.cmake

 Add the installation prefix of \"GLM\" to CMAKE_PREFIX_PATH or set \"GLM_DIR\"
 to a directory containing one of the above files. If \"GLM\" provides a
 separate development package or SDK, be sure it has been installed.
A: The Git clone was not done recursively and thus the Ghoul CMakeLists.txt file is missing. Please reclone the repository using the --recursive flag